Complete first PC build guide: 2026 edition
From socketing the CPU to seeing the BIOS splash. A step by step first build guide for 2026 parts, with the mistakes that actually cause dead boots.
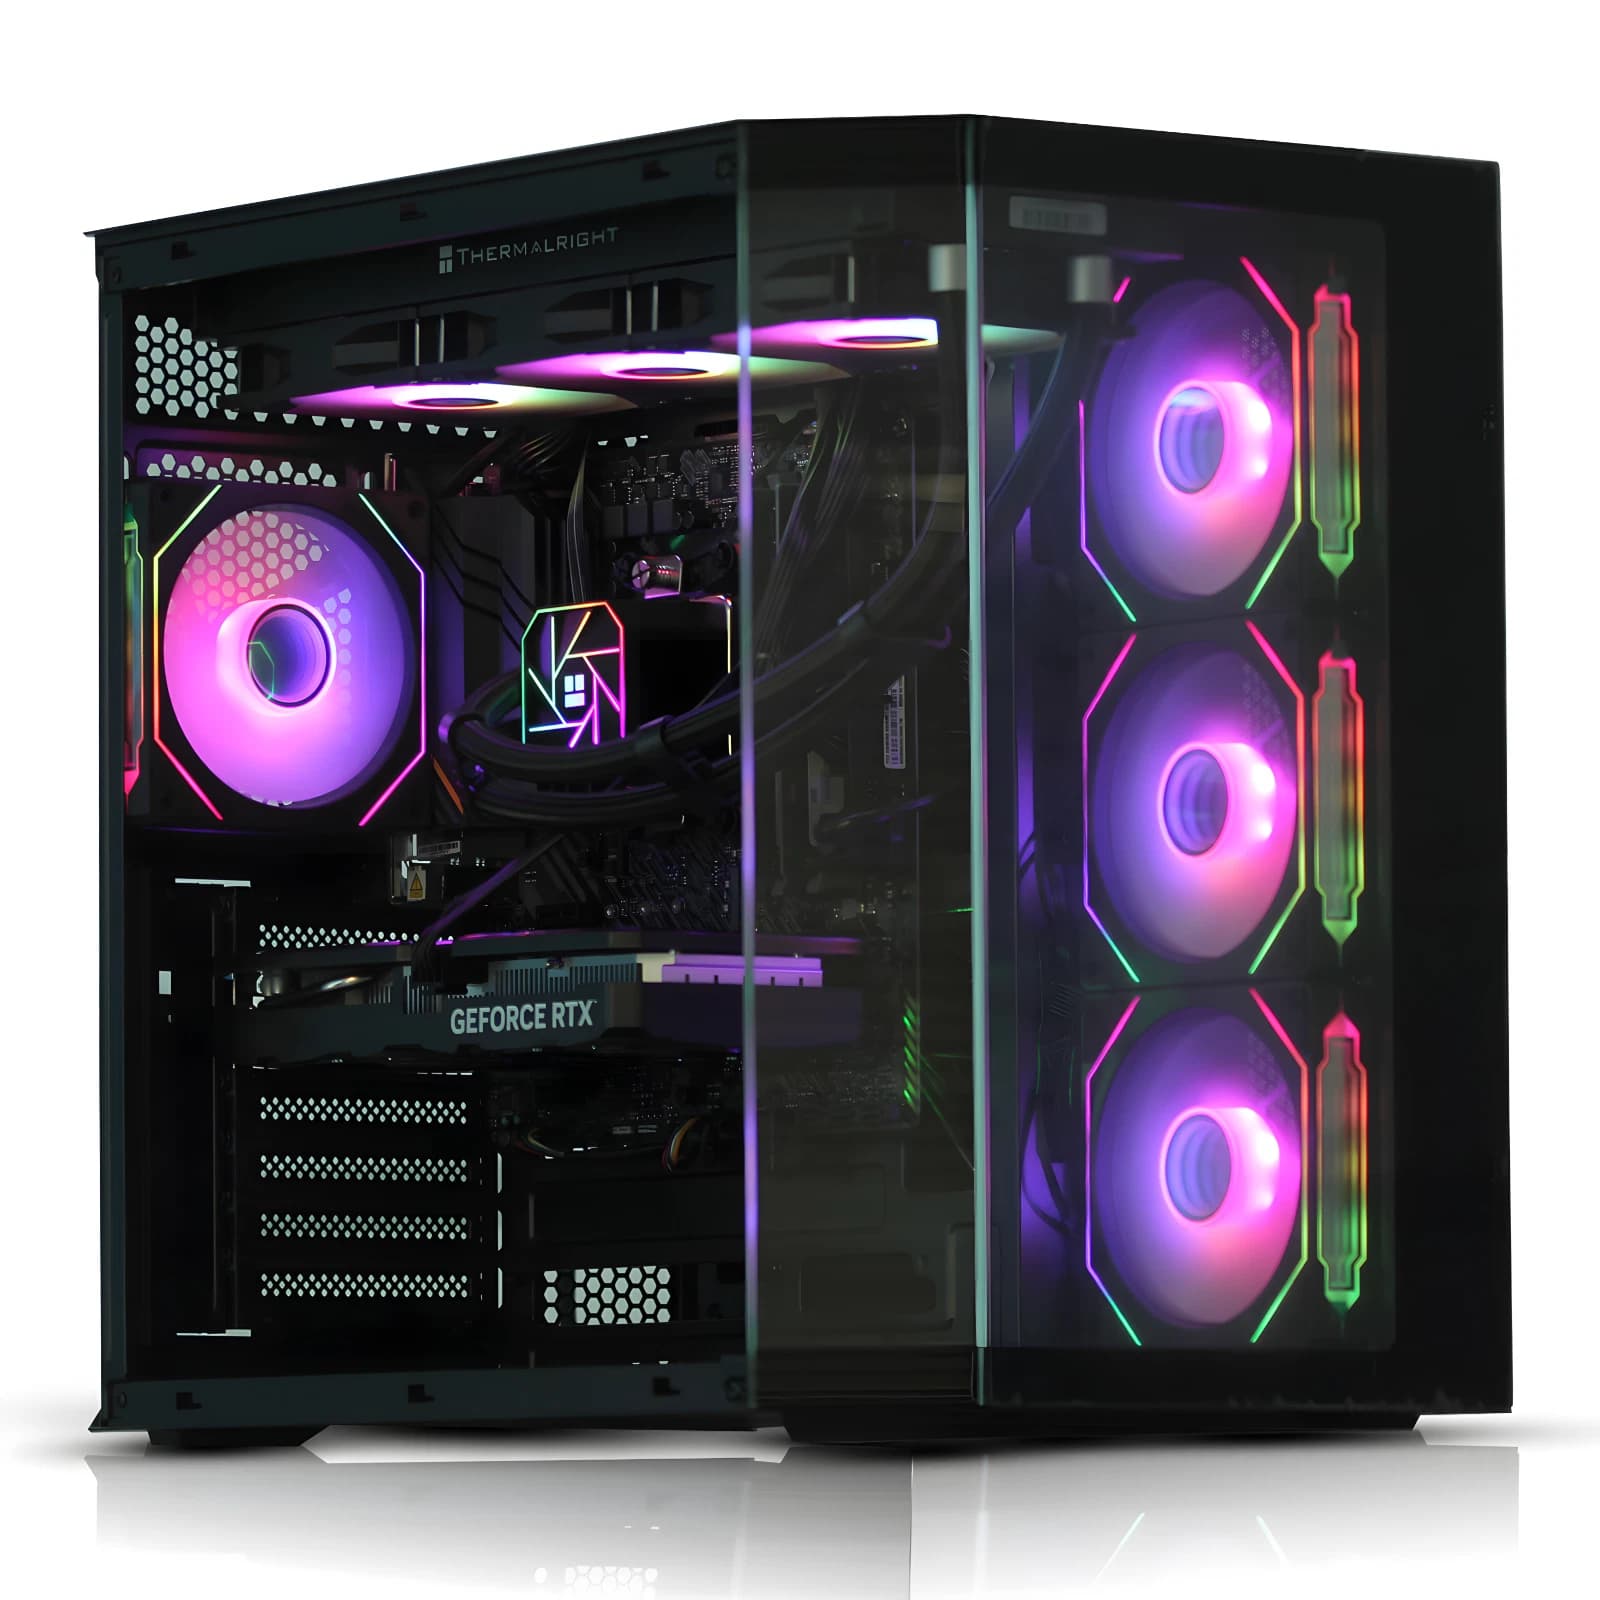
Before you unbox anything
A first PC build in 2026 is easier than five years ago because motherboard idiot proofing is better, but the failure modes have shifted. Bent LGA1851 pins, DDR5 training loops, and PCIe 5.0 heat throttling are the modern versions of forgetting the standoffs.
Lay out a static free surface. Have a magnetic Philips 2 driver, a torch, and cable ties. Ground on the PSU shroud before touching a component.
Step one: CPU and cooler on the motherboard
Do the CPU install on the motherboard box, not inside the case. It is the single biggest source of first build damage.
For an Intel LGA1851 board (Core Ultra 200 series), lift the retention arm and load plate, and drop the CPU in with the notches aligned. A gold triangle on the chip lines up with a matching mark on the socket. Close the load plate and press the arm back into the hook. The plastic cover pops off, keep it for RMA.
For an AMD AM5 board (Ryzen 7000, 8000, or 9000), lift the arm and the CPU drops in one orientation, gold triangle to gold triangle. Close the arm gently.
Apply a pea sized dot of thermal paste in the centre of the IHS. Tighten the cooler screws in a diagonal pattern, a quarter turn each. Plug the CPU fan header into CPU_FAN, not CPU_OPT, or the board will refuse to POST.
Step two: RAM in the correct slots
DDR5 in 2026 wants to be in slots A2 and B2, the second and fourth slot from the CPU on almost every consumer board. Getting this wrong is the most common cause of "it will not boot" posts on Reddit. Push the sticks in until both clips snap. It takes real force.
Two 16GB sticks at DDR5-6000 CL30 for AMD, or DDR5-6400 CL32 for Intel, is the sweet spot. Corsair Vengeance, G.Skill Flare X5, and Kingston Fury Beast are all fine. Enable EXPO or XMP in BIOS after first boot, otherwise the RAM runs at 4800 MT/s.
Step three: SSD and motherboard into the case
Install the primary M.2 SSD into the M2_1 slot (closest to the CPU). PCIe 4.0 is the correct choice in 2026. PCIe 5.0 drives run hot, cost 40 percent more, and only matter for pro video work. A WD SN770, Samsung 990 EVO Plus, or Crucial P310 at 1TB or 2TB is the specialist pick.
Count standoffs before the board goes in: nine for ATX, six for micro ATX. Drop the I/O shield in if not integrated, then screw the motherboard down. Snug, not gorilla.
Skip the risk and get a bench tested build from Birmingham AV instead.
Step four: PSU, cables, and front panel
A 750W 80 Plus Gold PSU covers anything up to an RTX 5070 Ti. For an RTX 5080 or 5090, step up to 850W or 1000W, with ATX 3.1 and native 12V-2x6.
Cable order that works: 24 pin ATX first, 8 pin (or 8+4) EPS to the top of the board second, then GPU power once the card is in. Route everything behind the motherboard tray before you plug anything in.
Front panel headers are the fiddly part. Power switch, reset switch, power LED, HDD LED go into the JFP1 or F_PANEL block, pinout in the manual. USB 3.0 header goes to the blue block near the 24 pin.
Step five: GPU, first boot, and BIOS
Install the GPU last. Break out the correct PCIe slot covers, slide the card in until the retention clip snaps, then screw the bracket in.
For an RTX 5000 series card, use the supplied 12V-2x6 adapter or a native ATX 3.1 cable. Push it all the way in. A gap of even 1mm caused the melted connector stories from 2024 and 2025.
Plug the monitor into the GPU (not the motherboard), keyboard and mouse to rear USB, flick the PSU switch, then hit power. If fans spin and you see a BIOS splash, you have won. Enter BIOS with Delete or F2, enable EXPO or XMP, set boot device to your M.2, save and exit. Windows 11 24H2 from a USB stick is the last step.
The mistakes that actually kill first builds
Standoffs shorting the board is still number one. Count them, one per screw hole. Number two is CPU_FAN unplugged. Number three is RAM in the wrong slots. Number four is a 12V-2x6 that is not fully seated. Number five is a missing EPS 8 pin, an instant no post.
FAQ
How long does a first build take?
Plan four to six hours end to end, including cable management and Windows install. Second builds land at ninety minutes. Do not try to finish it in an evening after work, that is when small mistakes happen.
What is the cost of a decent 2026 build?
A 1440p build with a Ryzen 7 7700, RTX 5070, 32GB DDR5, 2TB NVMe, 750W Gold PSU, and mid tower case lands at £1,150 to £1,300 in parts as of mid 2026. Add £120 for Windows 11 Home if you do not own a licence.
What if the PC does not POST?
Reseat the RAM, reseat the GPU power, and check the CPU_FAN header. Nine times out of ten it is one of those three. If the debug LED is stuck on DRAM, it is memory in the wrong slot. If stuck on VGA, it is GPU power or the monitor cable in the motherboard instead of the card.
Should I buy a pre built if I have never done this?
If the budget is under £700 and the machine is for gaming or office work, a bench tested refurbished tower is almost always the better value. First build mistakes cost £200 to £500 in bent pins or dead boards, wiping out any DIY saving. Above £1,200 the DIY case gets stronger, since you pick the exact parts.
About Birmingham AV
We have sold more than 87,000 items on eBay since 2017, with 24,756 buyer feedbacks at 98.9 percent positive. Every tower and laptop ships with a twelve month warranty, bench tested under load and PAT tested before dispatch. Companies House 12383651, VAT GB 348755066, based in Bromsgrove, Worcestershire. One of the highest volume refurbished PC operations on eBay UK.