Cable management for beginners: 2026 visual guide
A practical walkthrough of routing, combs, ties, and PSU cable choice, so a first build looks tidy without eating a weekend.
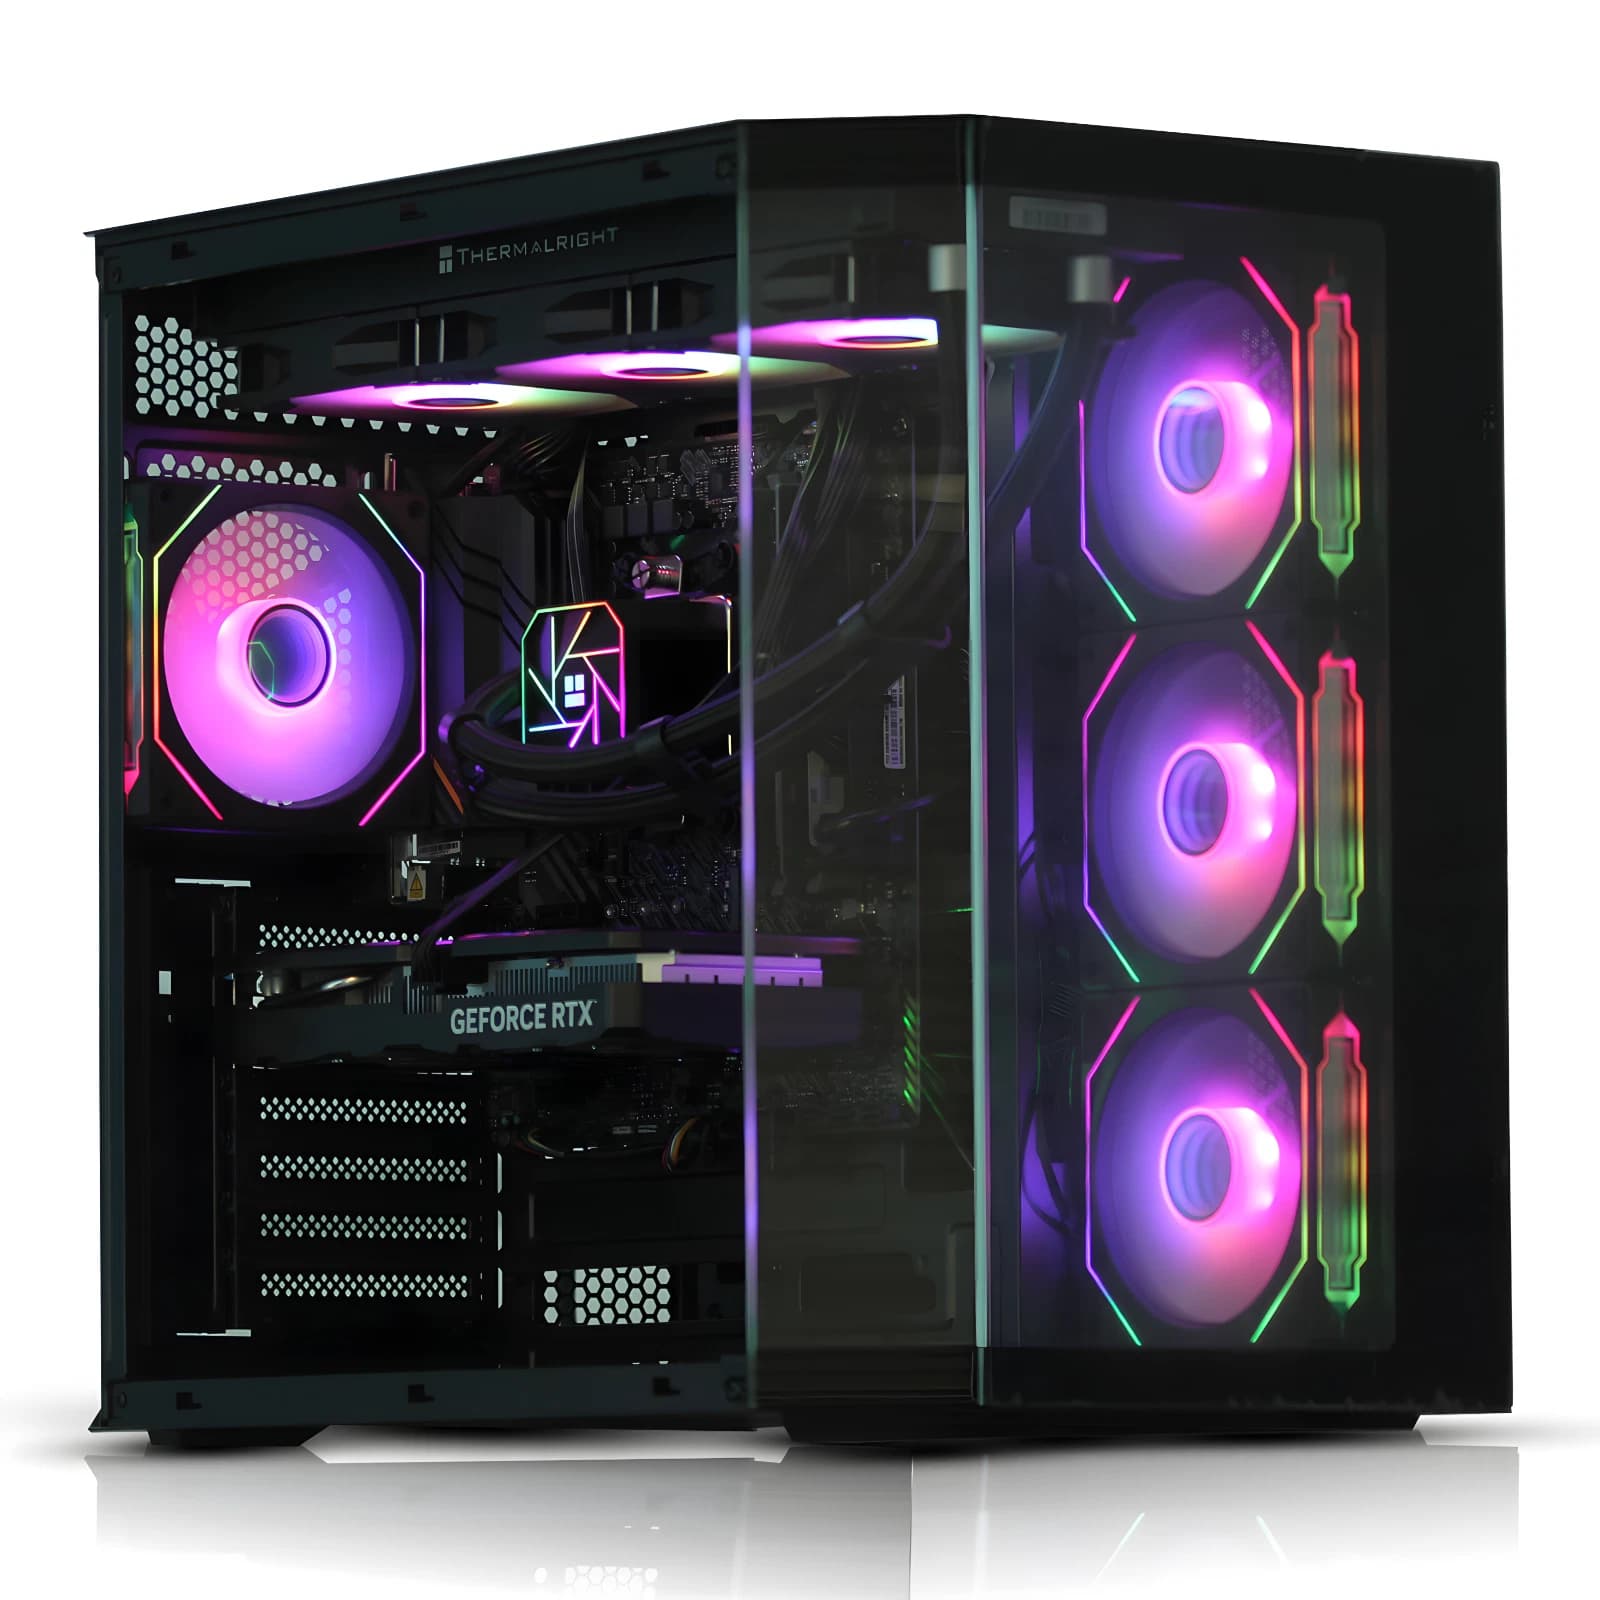
Cable management is the part of a build most beginners underestimate. Neat cables improve airflow across the CPU cooler and GPU, make upgrades quicker, and stop a stray SATA lead touching a fan blade at 1,800 RPM. This guide covers the four decisions that matter for a first build in 2026: routing behind the motherboard tray, cable combs, velcro against zip ties, and picking the right PSU cable set.
Start behind the tray, not in front of it
Every modern ATX case (a Fractal North, Lian Li Lancool 217, NZXT H7) has a 25 mm to 35 mm gap between the motherboard tray and the right side panel. If a cable does not need to be on the motherboard side, it belongs on the back side. That means the 24 pin ATX, the EPS 12V (8 pin CPU power), PCIe GPU cables, front panel headers, USB 3.0, and any SATA power runs all get pushed through the nearest rubber grommet, tucked flat, then brought back through only where they plug in. Get this right and 80 percent of the job is done.
Plan the route before plugging anything in
Before mounting the PSU or motherboard, lay the case on its side and dry fit the main cables. Identify the four grommets: top for EPS 12V, right of the socket for the 24 pin, below the board for GPU power, bottom for storage.
If a cable will be visible, follow a right angle. Diagonal cables look like an accident. The extra 40 mm of length is worth it.
Cable combs: when they help and when they do not
A cable comb is a small plastic or aluminium bar with slots that hold PSU wires in parallel. On a build where the cables are visible (an open frame chassis, a wraparound glass panel like the HYTE Y70) they turn a bundle into a ribbon. On a standard mid tower where the cables hide behind the tray, a comb is largely cosmetic.
Combs on the visible 24 pin (the last 80 mm before the board) and the exposed portion of the GPU cable give most of the visual benefit for a fraction of the fiddling. Individually sleeved cables from CableMod, Lian Li Strimer, or Corsair Premium ship with combs. Stock cables from a Corsair RM850x or Seasonic Focus GX 850 do not.
Velcro or zip ties: pick one system and stick to it
Zip ties are cheap, permanent, and unforgiving. They pull cables into a hard bundle, fine for a static build but painful for upgrades. Use zip ties on the back of the tray, and anywhere a lead must be locked against a fan header or chassis mount.
Velcro reusable straps cost about £5 for a pack of 50 from RS Components or Amazon. They are the right choice for the visible side of the tray, for cables that will change (drives, RGB, front panel), and for anyone who plans to swap a GPU or PSU within three years. Zip ties for structure, velcro for organisation. Do not mix the two on the same bundle. Trim any zip tie flush with side cutters, not scissors.
Not fancying the cable puzzle?
If routing 14 cables through four grommets in the right order is off putting, a pre-built is the sensible answer. Browse the current Birmingham AV eBay range for office, gaming, and workstation tiers from around £180 up to over £900, each cabled and burn in tested before dispatch.
Pick the right PSU cable set before the box arrives
The single biggest lever on cable management is the PSU itself. Three tiers to know:
- Fully modular (Corsair RM, Seasonic Focus and Prime, be quiet Straight Power 12, Super Flower Leadex): every cable detaches. Default for any build over £700.
- Semi modular: 24 pin and EPS 12V are fixed. Fine for a budget build, but the fixed cables run 550 mm to 610 mm, often 100 mm too long for a mid tower.
- Non modular: every cable is factory attached. Common on OEM PSUs and entry level units under £60. Excess coils in the shroud or drive bay.
If the PSU is already locked in, custom length cables from CableMod PRO Series or Pexon PCs cost £70 to £130. Match the pinout to the exact PSU brand and model. A Corsair RMx cable is not compatible with a Seasonic Focus, and the wrong one will damage the board.
Airflow: the reason any of this matters
A messy bundle in front of the CPU cooler intake raises CPU temperatures by 3 to 6 degrees Celsius under load in most mid towers, per bench tests from Gamers Nexus and Hardware Unboxed. Higher fan noise, more thermal throttling on Ryzen 7 and 9 chips, shorter bearing life. Ten minutes of cable work saves 5 dB of fan noise across the life of the build.
FAQ
How long should PSU cables be for a mid tower?
For a standard mid tower (Corsair 4000D, NZXT H7, Lancool 217), 500 mm to 550 mm on the 24 pin, 650 mm to 700 mm on the EPS 12V, and 500 mm on GPU cables covers most layouts. Full towers need 100 mm more, SFF cases 250 mm to 400 mm.
Are magnetic cable clips worth using?
Only on steel trays, and only for temporary organisation. They shift under vibration from a hard drive or a heavy GPU sag bracket, and do nothing on aluminium chassis like the Lian Li O11 Dynamic. Adhesive backed anchors from 3M are more reliable for permanent builds.
Do I need to sleeve every cable individually?
No. Individual sleeving is cosmetic and adds £60 to £150. A wrap of paracord style sleeving on the 24 pin and visible GPU cable delivers most of the uplift. Everything behind the tray can stay in factory sheathing.
Can bad cable management damage components?
Rarely, but yes. A cable on a spinning fan blade can snap the tip and unbalance the bearing. A PCIe cable pulled tight can loosen the GPU in its slot. A SATA lead against a hot VRM heatsink can melt and short.
About Birmingham AV
Birmingham AV has sold over 87,000 items on eBay UK since 2017, with 24,756 buyer feedbacks at 98.9 percent positive. Every desktop we ship carries a twelve month warranty and is stress tested before dispatch. We are one of the highest volume refurbished PC operations on eBay UK, based in Bromsgrove, Worcestershire, registered as company number 12383651 (VAT GB 348755066). Our workshop assembles, tests, and hand cables every build in house.